The Dynamic Host Configuration Protocol (DHCP) is a network protocol which is controlled by a DHCP server which dynamically distributes network configuration parameters, such as IP addresses, to all DHCP-enabled clients. DHCP server helps in reducing the need for a network administrator to configure these settings manually.
Now in Windows 10, DHCP is enabled by default, but if it is disabled by some 3rd party apps or possibly a virus then your Wireless access point will not run a DHCP server, which in turn will not automatically assign an IP address and you won’t be able to access the internet. So without wasting any time let’s see how to Fix DHCP is not enabled for WiFi in Windows 10 with the help of below-listed troubleshooting guide.
Fix DHCP is not enabled for WiFi in Windows 10
Make sure to create a restore point just in case something goes wrong.
Fix DHCP is not enabled for WiFi in Windows 10 Method 1: Run Network Troubleshooter Method 2: Enable DHCP via Network Adapter Settings Method 3: Enable DHCP client service Method 4: Temporarily Disable Antivirus and Firewall Method 5: Uncheck Proxy Method 6: Reset Winsock and TCP/IP Method 7: Reinstall your Network driver Method 8: Update Wireless Adapter drivers Method 9: Run CCleaner and Malwarebytes
After each of the methods, make sure to check if the DHCP is enabled or not, in order to do that follow this guide:
Open Command Prompt. The user can perform this step by searching for ‘cmd’ and then press Enter.
Type the following command into cmd and hit Enter: ipconfig /all
Scroll down to Wireless LAN adapter Wi-Fi and under DHCP Enabled it should read “yes“.
If you see “No” under DHCP Enabled, then the method didn’t work, and you need to try other solutions as well.
Method 1: Run Network Troubleshooter
Press Windows Key + R then type ncpa.cpl and hit Enter to open Network Connections.
Right-click on your Wifi Connection and select Diagnose.
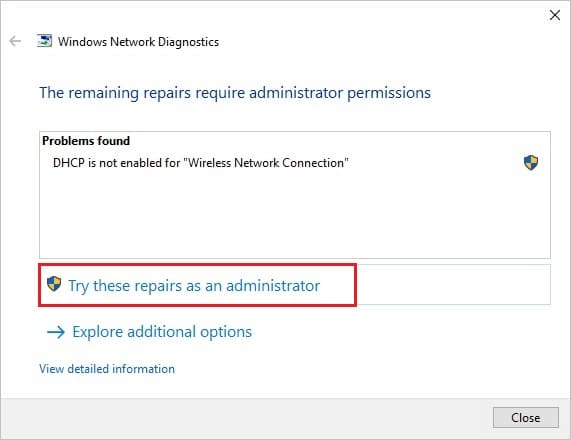
Let the Network Troubleshooter run, and it will give you the following error message: DHCP is not enabled for “Wireless Network Connection”.
Now click on Next in order to fix the issues. Also, click on “Try This Repairs as an Administrator“.
On the next prompt, click Apply this Fix.
Reboot your PC to save changes and see if you’re able to Fix DHCP is not enabled for WiFi in Windows 10.
Method 2: Enable DHCP via Network Adapter Settings
Press Windows Key + R then type ncpa.cpl and hit Enter.
Right-click on your Wifi Connection and select Properties.
From the Wi-Fi properties window, select Internet Protocol Version 4 and click Properties.
Now make sure to checkmark “Obtain an IP address automatically” and “Obtain DNS server address automatically”.
Click OK, then again click on OK and click Close.
Reboot your PC to save changes.
Method 3: Enable DHCP client service
Press Windows Key + R then type services.msc and hit Enter.
Find DHCP Client in this list then double-click on it to open its properties.
Make sure Startup type is set to Automatic and click Start if the service is not already running.
Click Apply, followed by OK.
Restart your PC to save changes and see if you’re able to Fix DHCP is not enabled for WiFi in Windows 10.
Method 4: Temporarily Disable Antivirus and Firewall
Sometimes the Antivirus program can cause an error and in order to verify this is not the case here, you need to disable your antivirus for a limited time so that you can check if the error still appears when the antivirus is off.
- Right-click on the Antivirus Program icon from the system tray and select Disable.
2. Next, select the time frame for which the Antivirus will remain disabled.
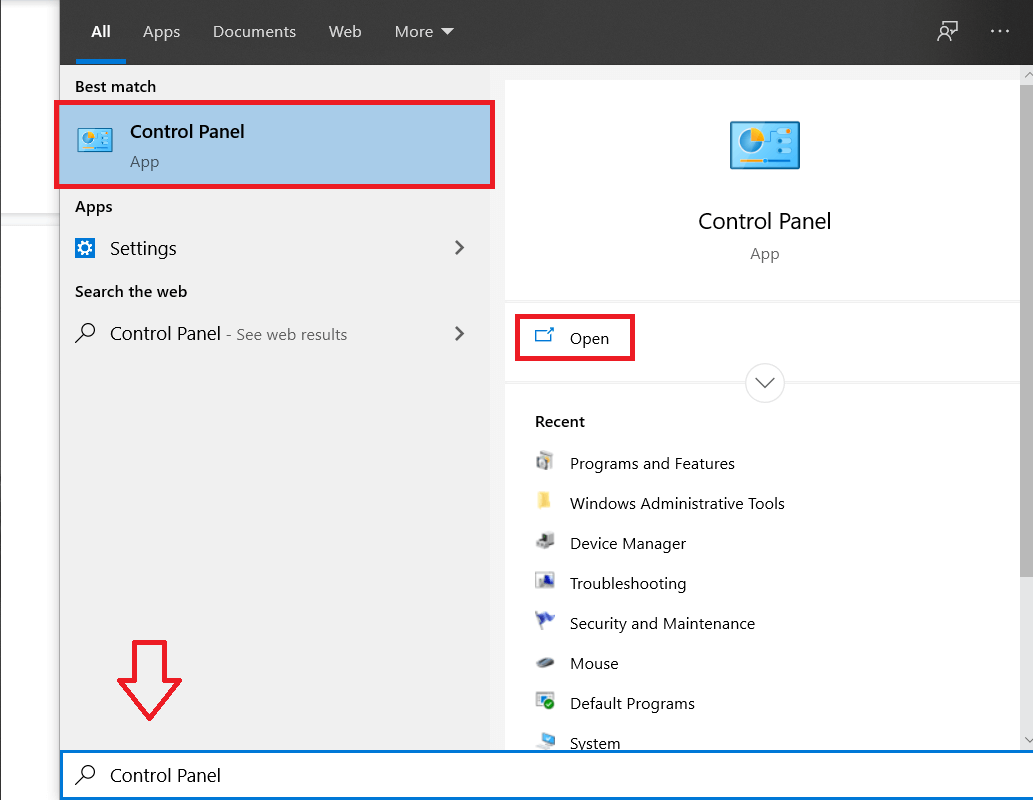
Note: Choose the smallest amount of time possible for example 15 minutes or 30 minutes. 3. Once done, again try to connect to open Google Chrome and check if the error resolves or not. 4. Search for the control panel from the Start Menu search bar and click on it to open the Control Panel.
Next, click on System and Security then click on Windows Firewall.
Now from the left window pane click on Turn Windows Firewall on or off.
7. Select Turn off Windows Firewall and restart your PC.
Again try to open Google Chrome and visit the web page which was earlier showing an error. If the above method doesn’t work make sure to follow the exact same steps to turn on your Firewall again.
Method 5: Uncheck Proxy
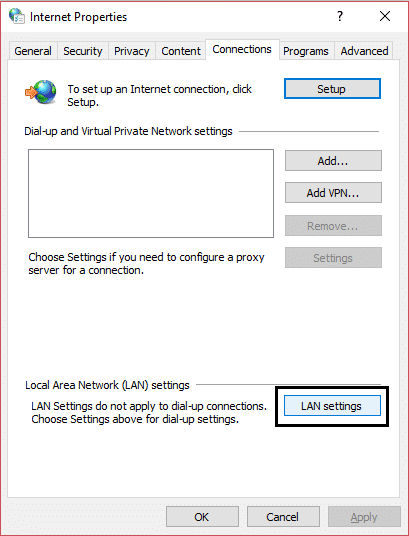
Press Windows Key + R then type “inetcpl.cpl” and hit enter to open Internet Properties.
Next, Go to Connections tab and select LAN settings.
Uncheck Use a Proxy Server for your LAN and make sure “Automatically detect settings” is checked.
Click Ok then Apply and reboot your PC.
Method 6: Reset Winsock and TCP/IP
Open Command Prompt. The user can perform this step by searching for ‘cmd’ and then press Enter.
Again, open Admin Command Prompt and type the following and hit enter after each one: ipconfig /flushdns nbtstat –r netsh int ip reset netsh winsock reset
Reboot to apply changes. Netsh Winsock Reset command seems to Fix DHCP is not enabled for WiFi in Windows 10.
Method 7: Reinstall your Network driver
Press Windows Key + R then type devmgmt.msc and hit Enter.
Expand Network adapters then right-click on your WiFi adapter and select Uninstall.
Again click Uninstall in order to confirm.
Now right-click on Network Adapters and select Scan for hardware changes.
Reboot your PC and Windows will automatically install the default drivers.
Method 8: Update Wireless Adapter drivers
Press Windows Key + R then type devmgmt.msc and hit Enter.
Right-click on the wireless adapter under Network Adapters and select Update Driver.
Select “Browse my computer for driver software.”
Again click on “Let me pick from a list of available drivers on my computer.”
Select the latest available driver from the list and click Next.
Reboot your PC to save changes and see if you’re able to Fix DHCP is not enabled for WiFi in Windows 10.
Method 9: Run CCleaner and Malwarebytes
Download and install CCleaner & Malwarebytes. 2. Run Malwarebytes and let it scan your system for harmful files. If malware is found it will automatically remove them.
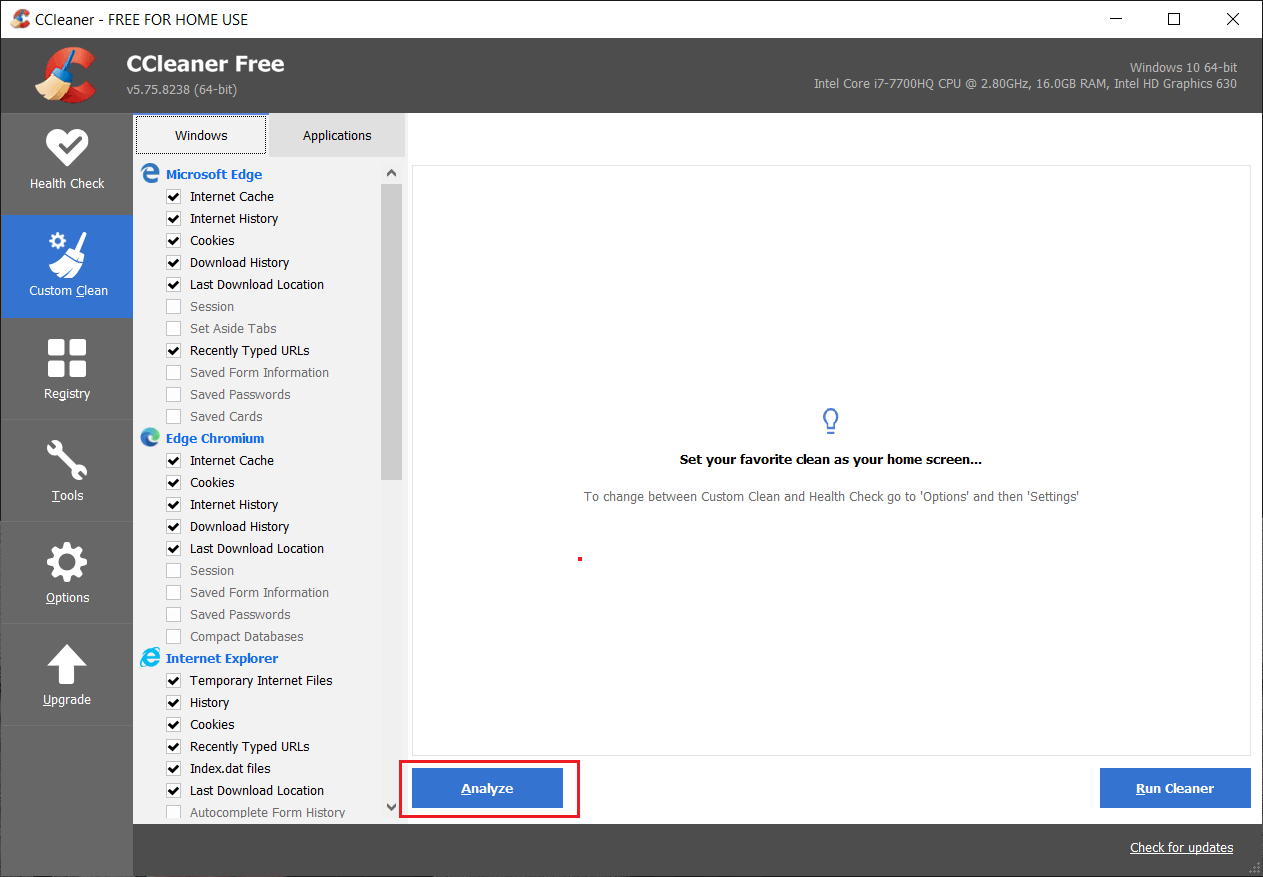
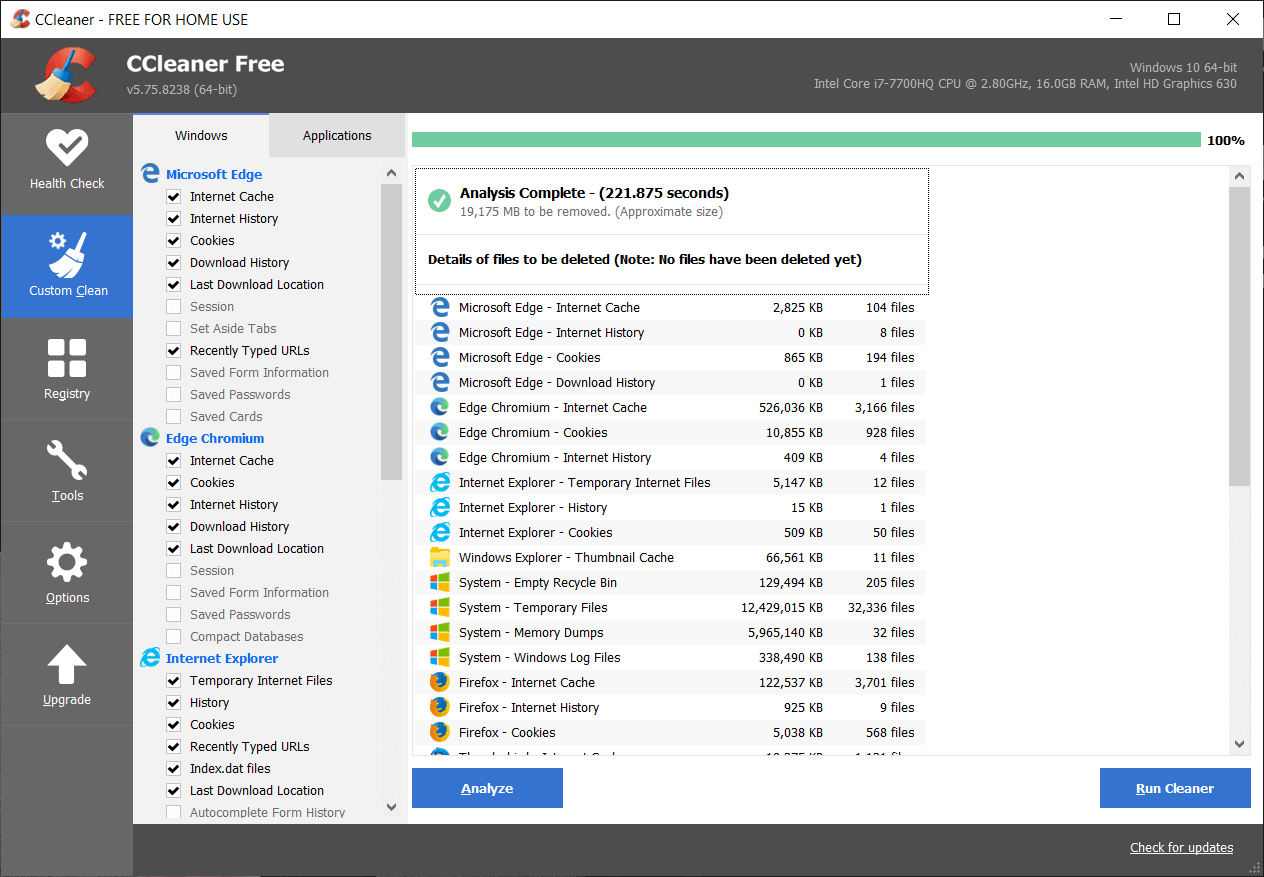
Now run CCleaner and select Custom Clean.
Under Custom Clean, select the Windows tab then make sure to checkmark defaults and click Analyze.
5. Once Analyze is complete, make sure you’re certain to remove the files to be deleted.
Finally, click on the Run Cleaner button and let CCleaner run its course.
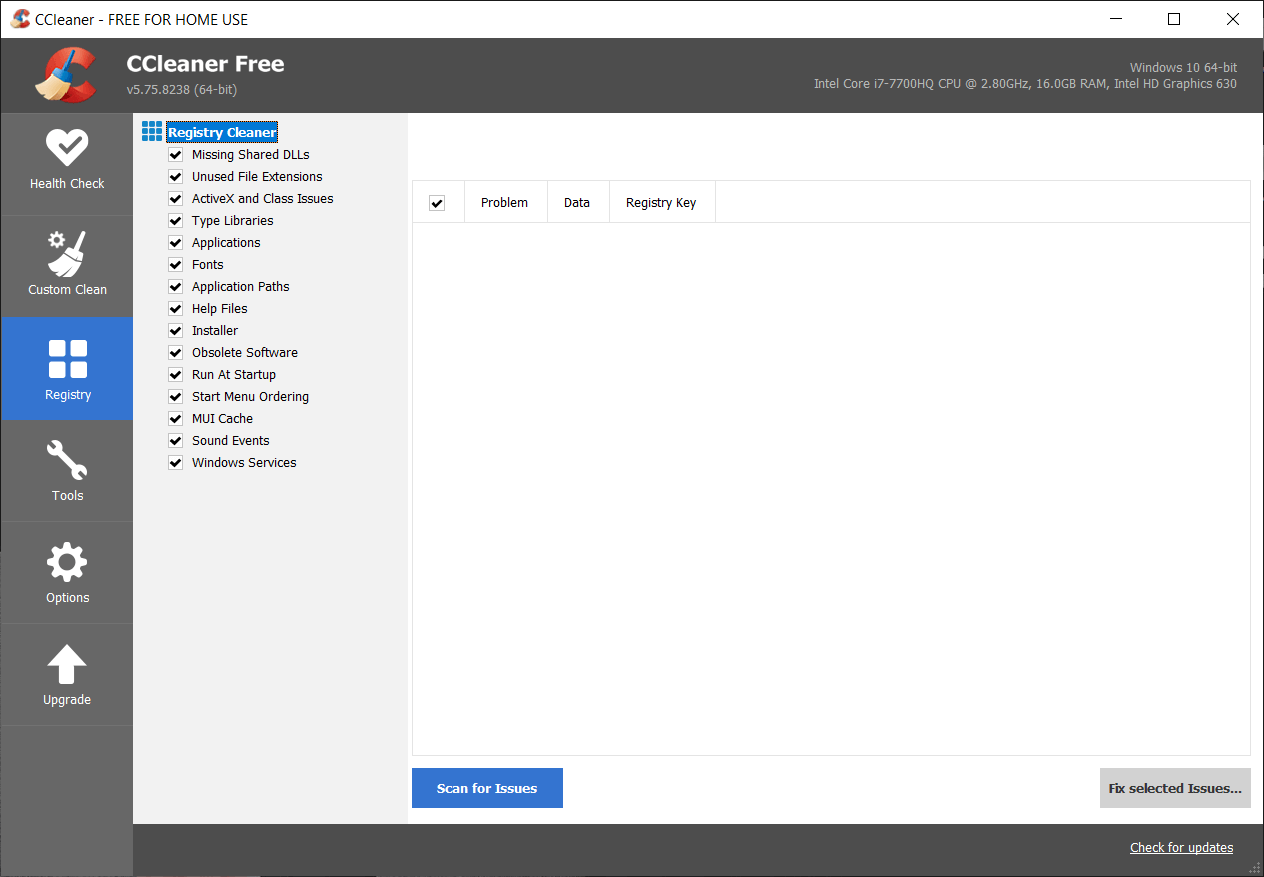
To further clean your system, select the Registry tab, and ensure the following are checked:
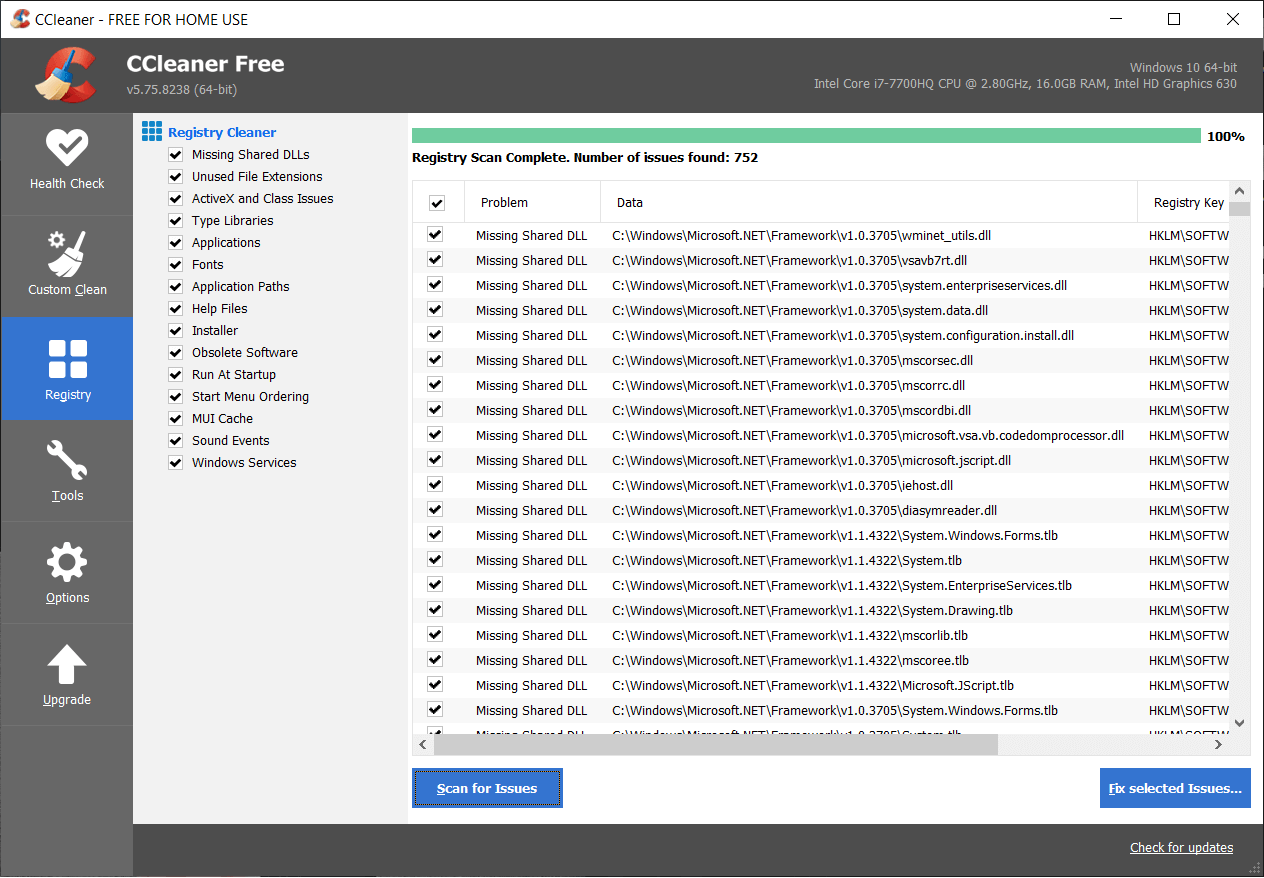
Click on the Scan for Issues button and allow CCleaner to scan, then click on the Fix Selected Issues button.
When CCleaner asks “Do you want backup changes to the registry?” select Yes.
Once your backup has completed, click on the Fix All Selected Issues button.
Restart your PC to save changes. Recommended:
Fix Steam Error Failed to load steamui.dll Change Template of a Drive, Folder, or Library in Windows 10 Fix Could Not Connect to the Steam Network Error Fix Windows 10 Wrong Clock Time Issue
That’s it you have successfully Fix DHCP is not enabled for WiFi in Windows 10 but if you still have any questions regarding this guide then feel free to ask them in the comment’s section.